
Using herbicides effectively in agricultural fields requires careful planning, proper application, and adherence to safety guidelines to ensure weed control while protecting crops, the environment, and yourself. Below is a step-by-step guide tailored for beginners on how to use herbicides in agricultural settings.
Step-by-Step Guide to Using Herbicides on Agricultural Fields
Step 1: Identify the Weeds and Assess the Field
- Why: Different weeds require specific herbicides, and understanding the weed type helps select the right product.
- How:
- Walk the field to identify dominant weed species (e.g., broadleaf weeds like dandelions or grasses like crabgrass).
- Note the growth stage (seedling, mature, or flowering), as this affects herbicide choice and timing.
- Check for herbicide-resistant weeds in your area by consulting local agricultural extension services or online resources like university weed guides.
- Tip: Use a weed identification app or guidebook, or send samples to a local expert for accurate identification.
Step 2: Choose the Right Herbicide
- Why: The herbicide must match the weed type, crop, and field conditions to be effective without harming crops.
- How:
- Selective vs. Non-Selective: Choose selective herbicides (e.g., 2,4-D for broadleaf weeds in cereal crops) to target specific weeds or non-selective (e.g., glyphosate) for total vegetation control in fallow fields.
- Pre-Emergent vs. Post-Emergent: Use pre-emergent herbicides (e.g., pendimethalin) before weeds germinate or post-emergent (e.g., dicamba) for actively growing weeds.
- Mode of Action: Rotate herbicides with different modes of action to prevent resistance (e.g., alternate between glyphosate and glufosinate).
- Check compatibility with your crop by reading the herbicide label or consulting crop-specific guidelines.
- Tip: Refer to the herbicide label for approved crops, weeds controlled, and application rates. Local agricultural suppliers or extension services can recommend products suited to your region.
Step 3: Check Environmental and Timing Conditions
- Why: Weather and timing affect herbicide efficacy and safety.
- How:
- Weather: Apply when temperatures are within the herbicide’s recommended range (usually 15–30°C or 60–85°F). Avoid windy days (wind speed >10 mph) to prevent drift, and check for no rain in the forecast for at least 4–6 hours for post-emergent herbicides.
- Timing: Apply pre-emergent herbicides before weed seeds germinate (often early spring or fall). For post-emergent, target young, actively growing weeds for best results.
- Crop Stage: Ensure the crop is at a stage where it can tolerate the herbicide (e.g., 2,4-D is safe for wheat at certain growth stages).
- Tip: Use weather apps or local forecasts to plan application days. Morning applications often work best due to calm winds and moderate temperatures.
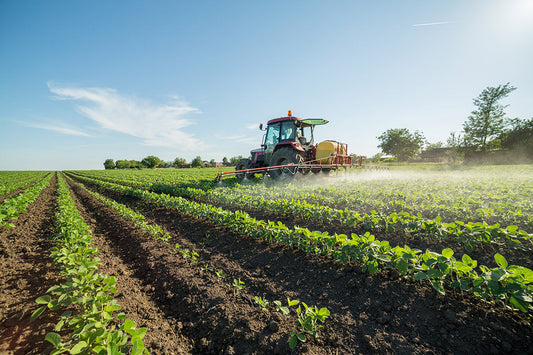
Step 4: Prepare Equipment and Calculate Application Rates
- Why: Proper equipment and accurate dosing ensure even application and prevent crop damage or waste.
- How:
- Equipment: Use a calibrated sprayer (boom sprayer, knapsack sprayer, or tractor-mounted sprayer) suited for your field size. Clean equipment thoroughly to avoid contamination from previous chemicals.
- Mixing: Calculate the correct herbicide amount based on the label’s recommended rate (e.g., liters or ounces per hectare/acre). Mix with water in a clean tank, following label instructions for dilution.
- Calibration: Test your sprayer to ensure it delivers the correct volume. Adjust nozzles and pressure for even coverage.
- Example: If the label recommends 2 liters of herbicide per hectare and your field is 5 hectares, you’ll need 10 liters total, mixed with the specified amount of water (e.g., 200 liters/ha).
- Tip: Wear protective gear (gloves, mask, long sleeves) while mixing and handling herbicides to avoid exposure.
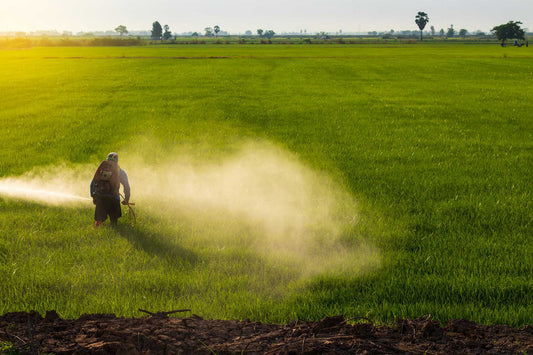
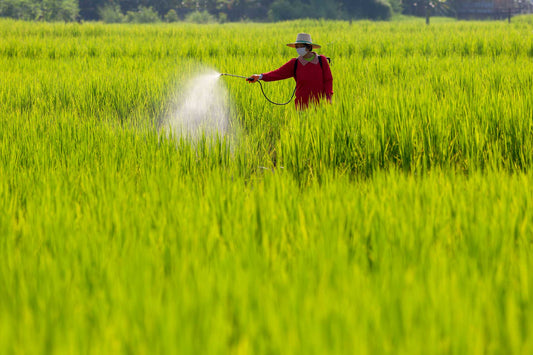
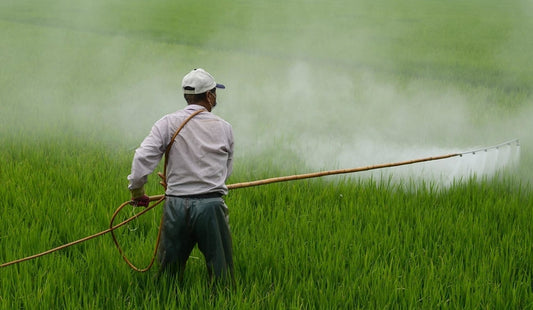
Step 5: Apply the Herbicide
- Why: Correct application maximizes weed control and minimizes harm to crops or the environment.
- How:
- Test a Small Area: Spray a small section first to check for crop sensitivity or equipment issues.
- Apply Evenly: For boom sprayers, maintain a steady speed (e.g., 3–5 km/h) and overlap passes slightly to avoid gaps. For knapsack sprayers, walk steadily and keep the nozzle 30–50 cm above the target.
- Spot Treatment: For small infestations, use a handheld sprayer to target specific weeds, reducing herbicide use.
- Avoid Drift: Use low-pressure nozzles or drift-reducing additives to keep herbicide on target.
- Tip: Mark treated areas to avoid double application, which can harm crops.
Step 6: Monitor and Follow Up
- Why: Checking results ensures the herbicide worked and helps plan future weed management.
- How:
- Observe Effects: For post-emergent herbicides, look for wilting or yellowing within 3–14 days, depending on the product. Pre-emergent herbicides prevent new growth, so monitor for weed emergence over weeks.
- Check for Resistance: If weeds survive, they may be resistant. Consult an expert for alternative herbicides or strategies.
- Record Keeping: Note the herbicide used, rate, date, and results to track effectiveness and plan rotations.
- Tip: Integrate other methods like crop rotation, cover crops, or mechanical weeding to reduce reliance on herbicides.
Step 7: Follow Safety and Environmental Guidelines
- Why: Improper use can harm crops, wildlife, water sources, or human health.
- How:
- Read the Label: Follow all safety instructions, including re-entry intervals (time before entering the field) and harvest intervals (time before harvesting crops).
- Dispose Properly: Rinse sprayers and dispose of rinse water according to local regulations to avoid contaminating water sources.
- Protect Non-Target Areas: Use buffer zones near water bodies or sensitive crops to prevent drift or runoff.
- Store Safely: Keep herbicides in original containers, locked away from children, pets, and food.
- Tip: Check local regulations (e.g., EPA guidelines in the U.S.) for restrictions on certain herbicides or application near water.
Additional Tips for Beginners
- Start Small: If new to herbicides, treat a small field or section to gain confidence.
- Seek Advice: Consult local farmers, agricultural extension agents, or herbicide suppliers for region-specific recommendations.
- Use Integrated Weed Management: Combine herbicides with tillage, mulching, or crop rotation for sustainable weed control.
- Stay Updated: Check for new herbicide products or resistance issues via agricultural websites or local co-ops.
Common Mistakes to Avoid
- Over- or Under-Dosing: Incorrect rates can reduce effectiveness or damage crops.
- Ignoring Weather: Applying during rain or high winds reduces efficacy and risks environmental harm.
- Not Rotating Herbicides: Repeated use of the same herbicide promotes resistant weeds.
- Skipping Calibration: Uneven application leads to poor weed control or crop injury.
Conclusion
Using herbicides in agricultural fields involves careful planning, from weed identification to safe application and follow-up. By following these steps, you can control weeds effectively while protecting your crops and the environment. Always prioritize safety, read labels, and consider integrating non-chemical methods for long-term success.
If you need help selecting a herbicide for a specific crop (e.g., corn, soybeans) or weed, or want details on equipment calibration, let me know!
Tags:
Previous
How Herbicides Work: A Beginner’s Guide to Weed Control
Next
How to Use Roundup Weed Killer: A Step-by-Step Guide
Related articles
-
Sep 19 2025
How to Use Roundup Weed Killer: A Step-by-Step Guide

-
Sep 19 2025